Kick Performance Evaluation
Monday, March 11, 2024
Idea
The goal of the project “Kick Performance Evaluation” is to measure the performance of kicks performed during fighting sports. Sensors measure characteristic values that are evaluated to provide a better understanding of the kick execution. Not only shall it help to see improvements, it shall also help novice participants to better understand the difference between their own execution and how it should be done.
Context
As I am myself participating in and teaching the Brazilian martial art of “Capoeira” since many years, this sport is going to be my test environment. But the in the end it shouldn’t be too difficult to adapt the measurements to other sports as well.
In Capoeira there exist many kick variations. As the are hidden in a kind of dancing style that requires constant movement, almost all of the kicks are performed in a rotational execution. Depending on which kick is performed it should be executed in a certain height. A high kick, for instance, targets the opponent’s head, where as a kick on a mid-level should be executed roughly above the height of the hip.
For beginner students it is quite difficult to estimate the height of their kicks properly. Even if the students are trained in other fighting sports, the execution of Capoeira kicks is still challenging. But this is, of course, understandable as these are completely new and unfamiliar movements.
From the viewer/coaching perspective it is a lot easier to spot why the execution of a kick or other movement was not done correctly, than when it is executed by oneself. To support the students and help them to get a better feeling for the kicks this project targets to build a simple device that measures data for a kick and displays the data on a graph. Then, over time, it is possible to compare different executions and work on ways to improve.
Setup
The current idea is to use a microcontroller (e.g. an ESP-32), a gyroscope, an accelerometer and a battery.
The microcontroller shall handle the initiation of different measurements, the data collection and the data transfer. To achieve a somewhat real-time evaluation the data shall be transmitted via Bluetooth to a computer or a smartphone.
The gyroscope measure the changes in force while the kick is executed. Thus the final graph can be expected to be an ellipsis and not a circle. This is because the force increases and decreases during the performance. Typical for Capoeira would be that the spinning kicks are performed with full force until the kick foot hits the floor. This abrupt stop marks the end of the kick. But this form of execution requires training and can hurt as the foot hits the floor at full speed. That is why beginners tend decrease the speed before ending the kick so that the foot lands more softly. The consequence is that the kick is not a kick anymore, but a spin where a leg is lifted.
The accelerometer also supports this evaluation. In combination with the gyroscope, the collected data should be enough to provide a valuable insight into different kick performances. Especially, regarding the kicking angle as this is one of the main target of this project to improve.
Together with a proper software application this could then easily be transformed into some sort of performance journal.
So the next steps for this project are:
- Get the required components
- Solder the components and build a device
- Implement the device’s firmware
- Implement a client software either for computer or smartphone
- Test it
Preparation of the power supply
This is just a small preparation to be able to connect the battery to the board and to also have the possibility to reload it without unsoldering it.

First Steps
The first steps are to get the required components and solder them. These are probably the easiest steps.
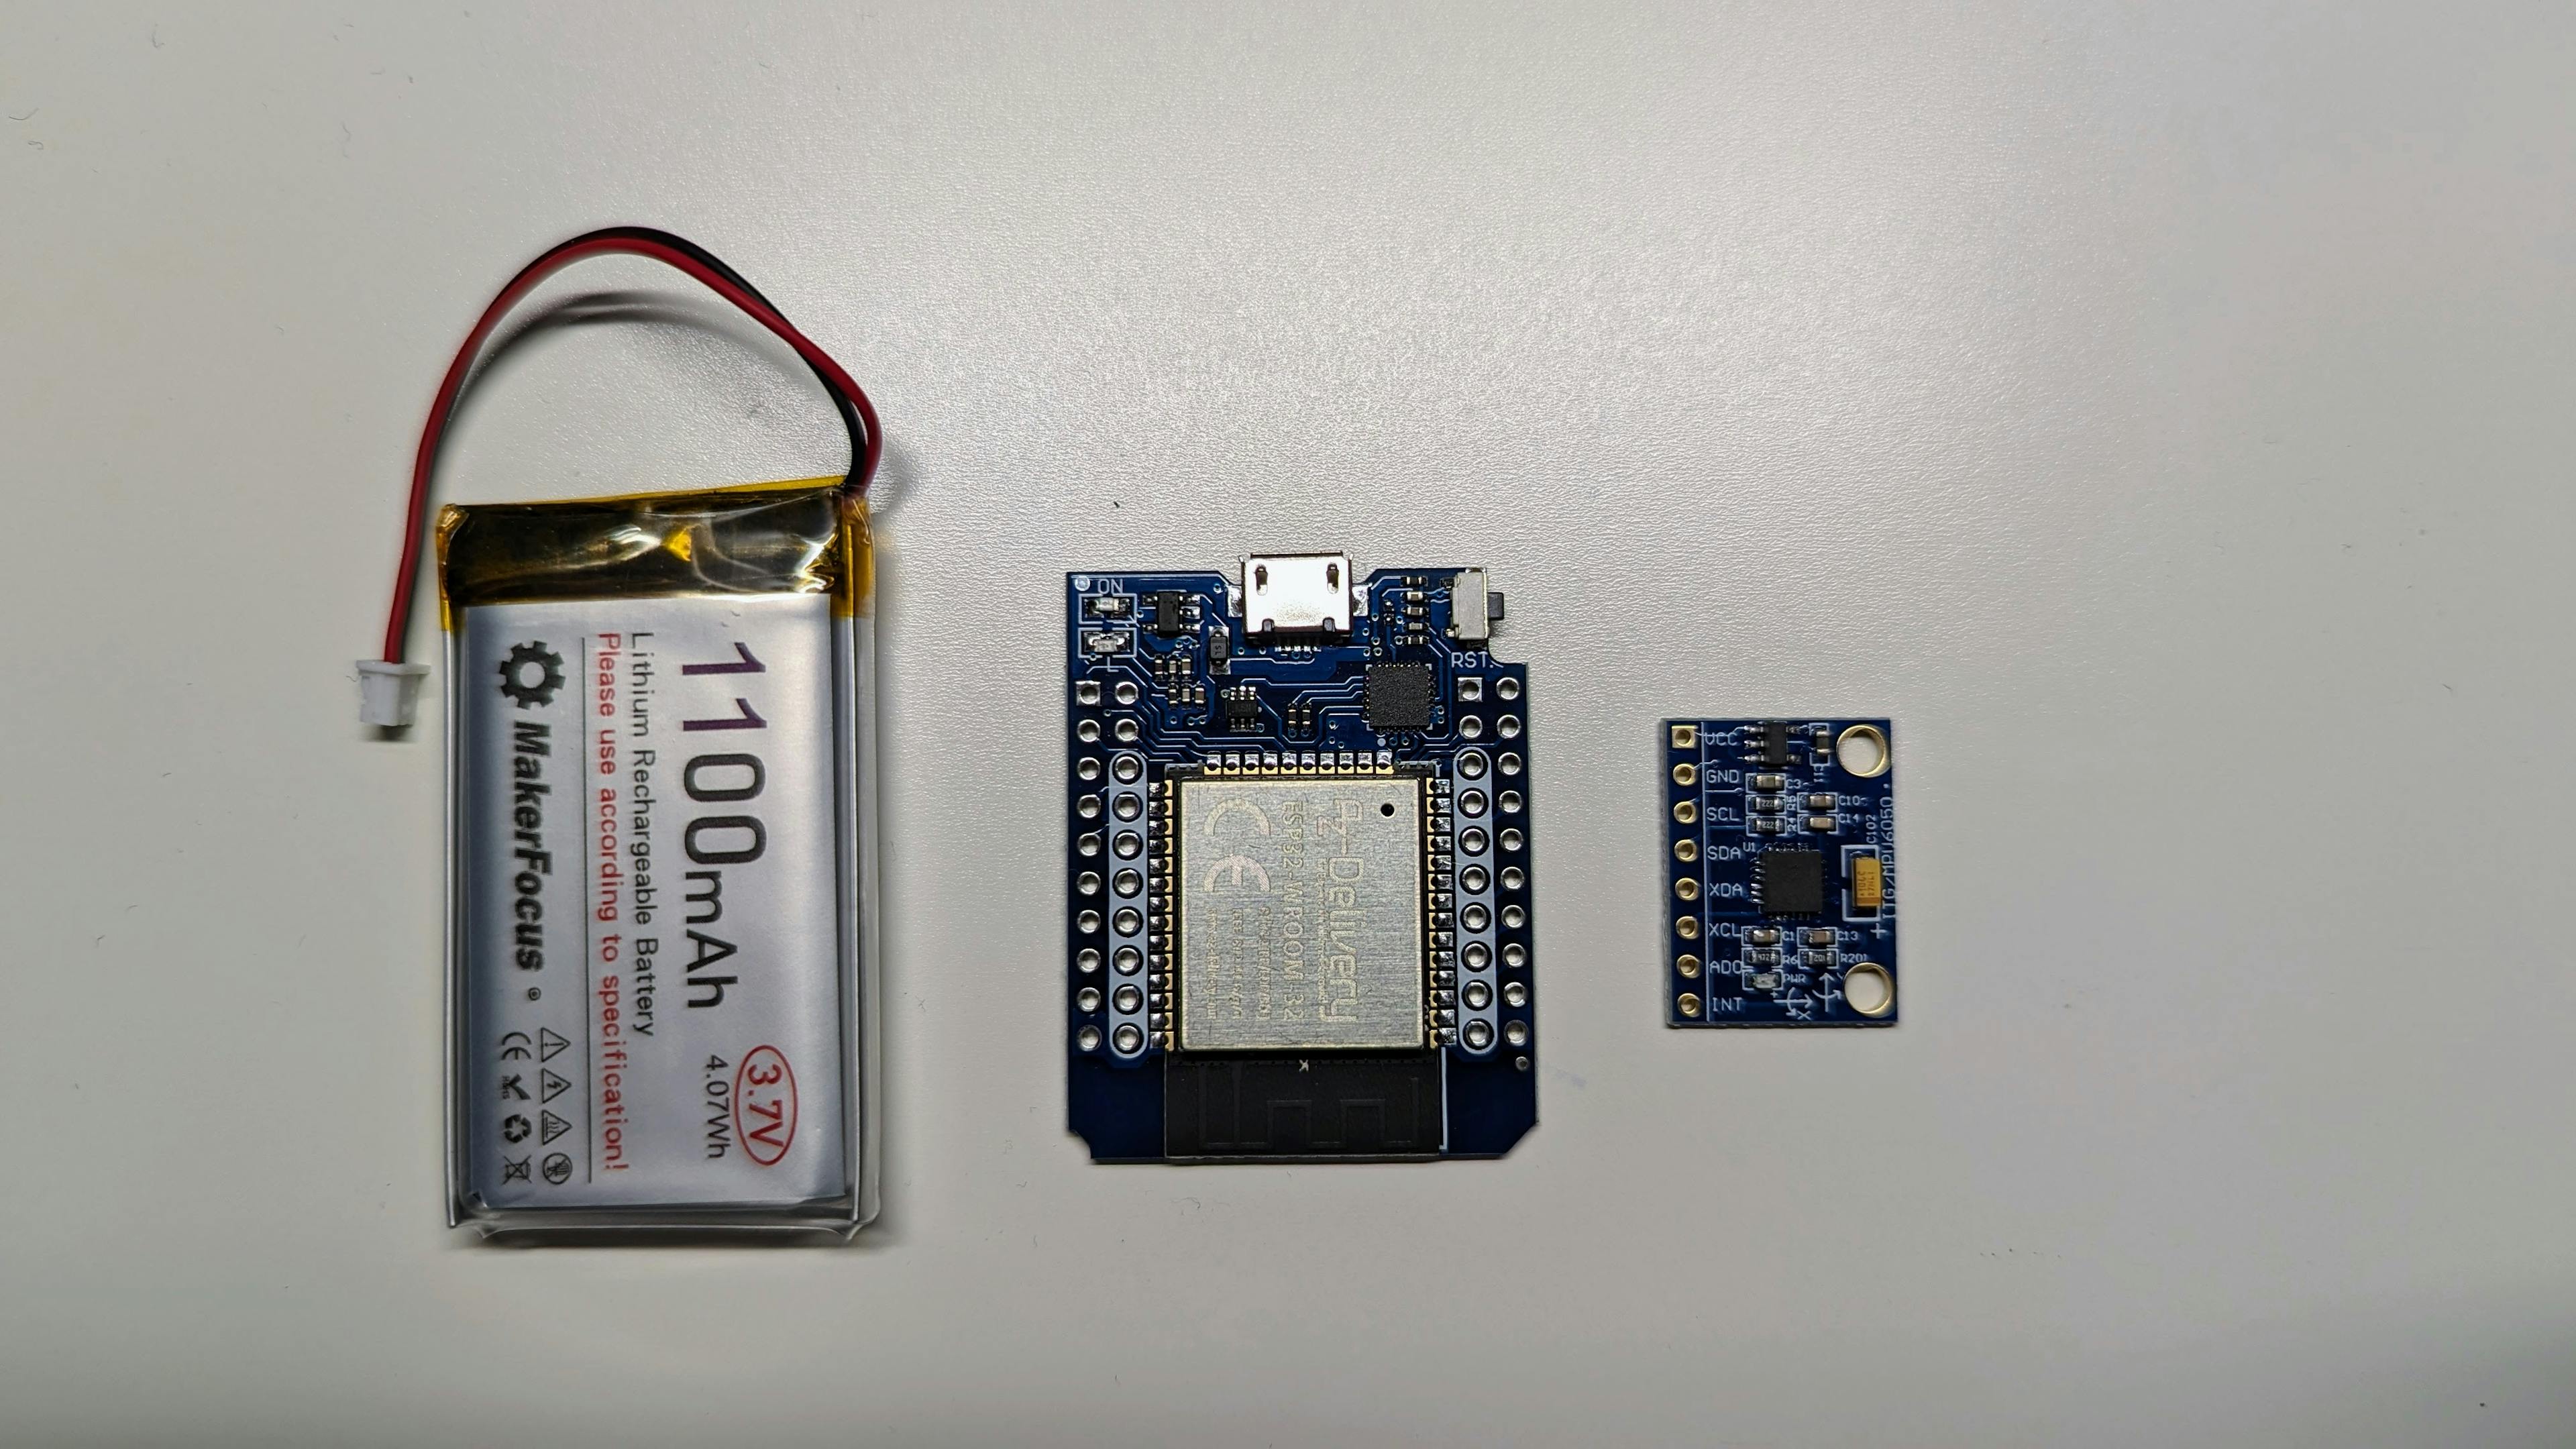
The list of components so far is pretty simple:
- D1 Mini equipped with an ESP-32
- GY-521 - a combination of an accelerometer and a gyroscope, each 3-axis
- a battery
Later, there needs to be a solution to fix these components to the ankle. A flexible foot bandage is probably a good starting point. But this is something to think about when the firmware and software are in a first working state.
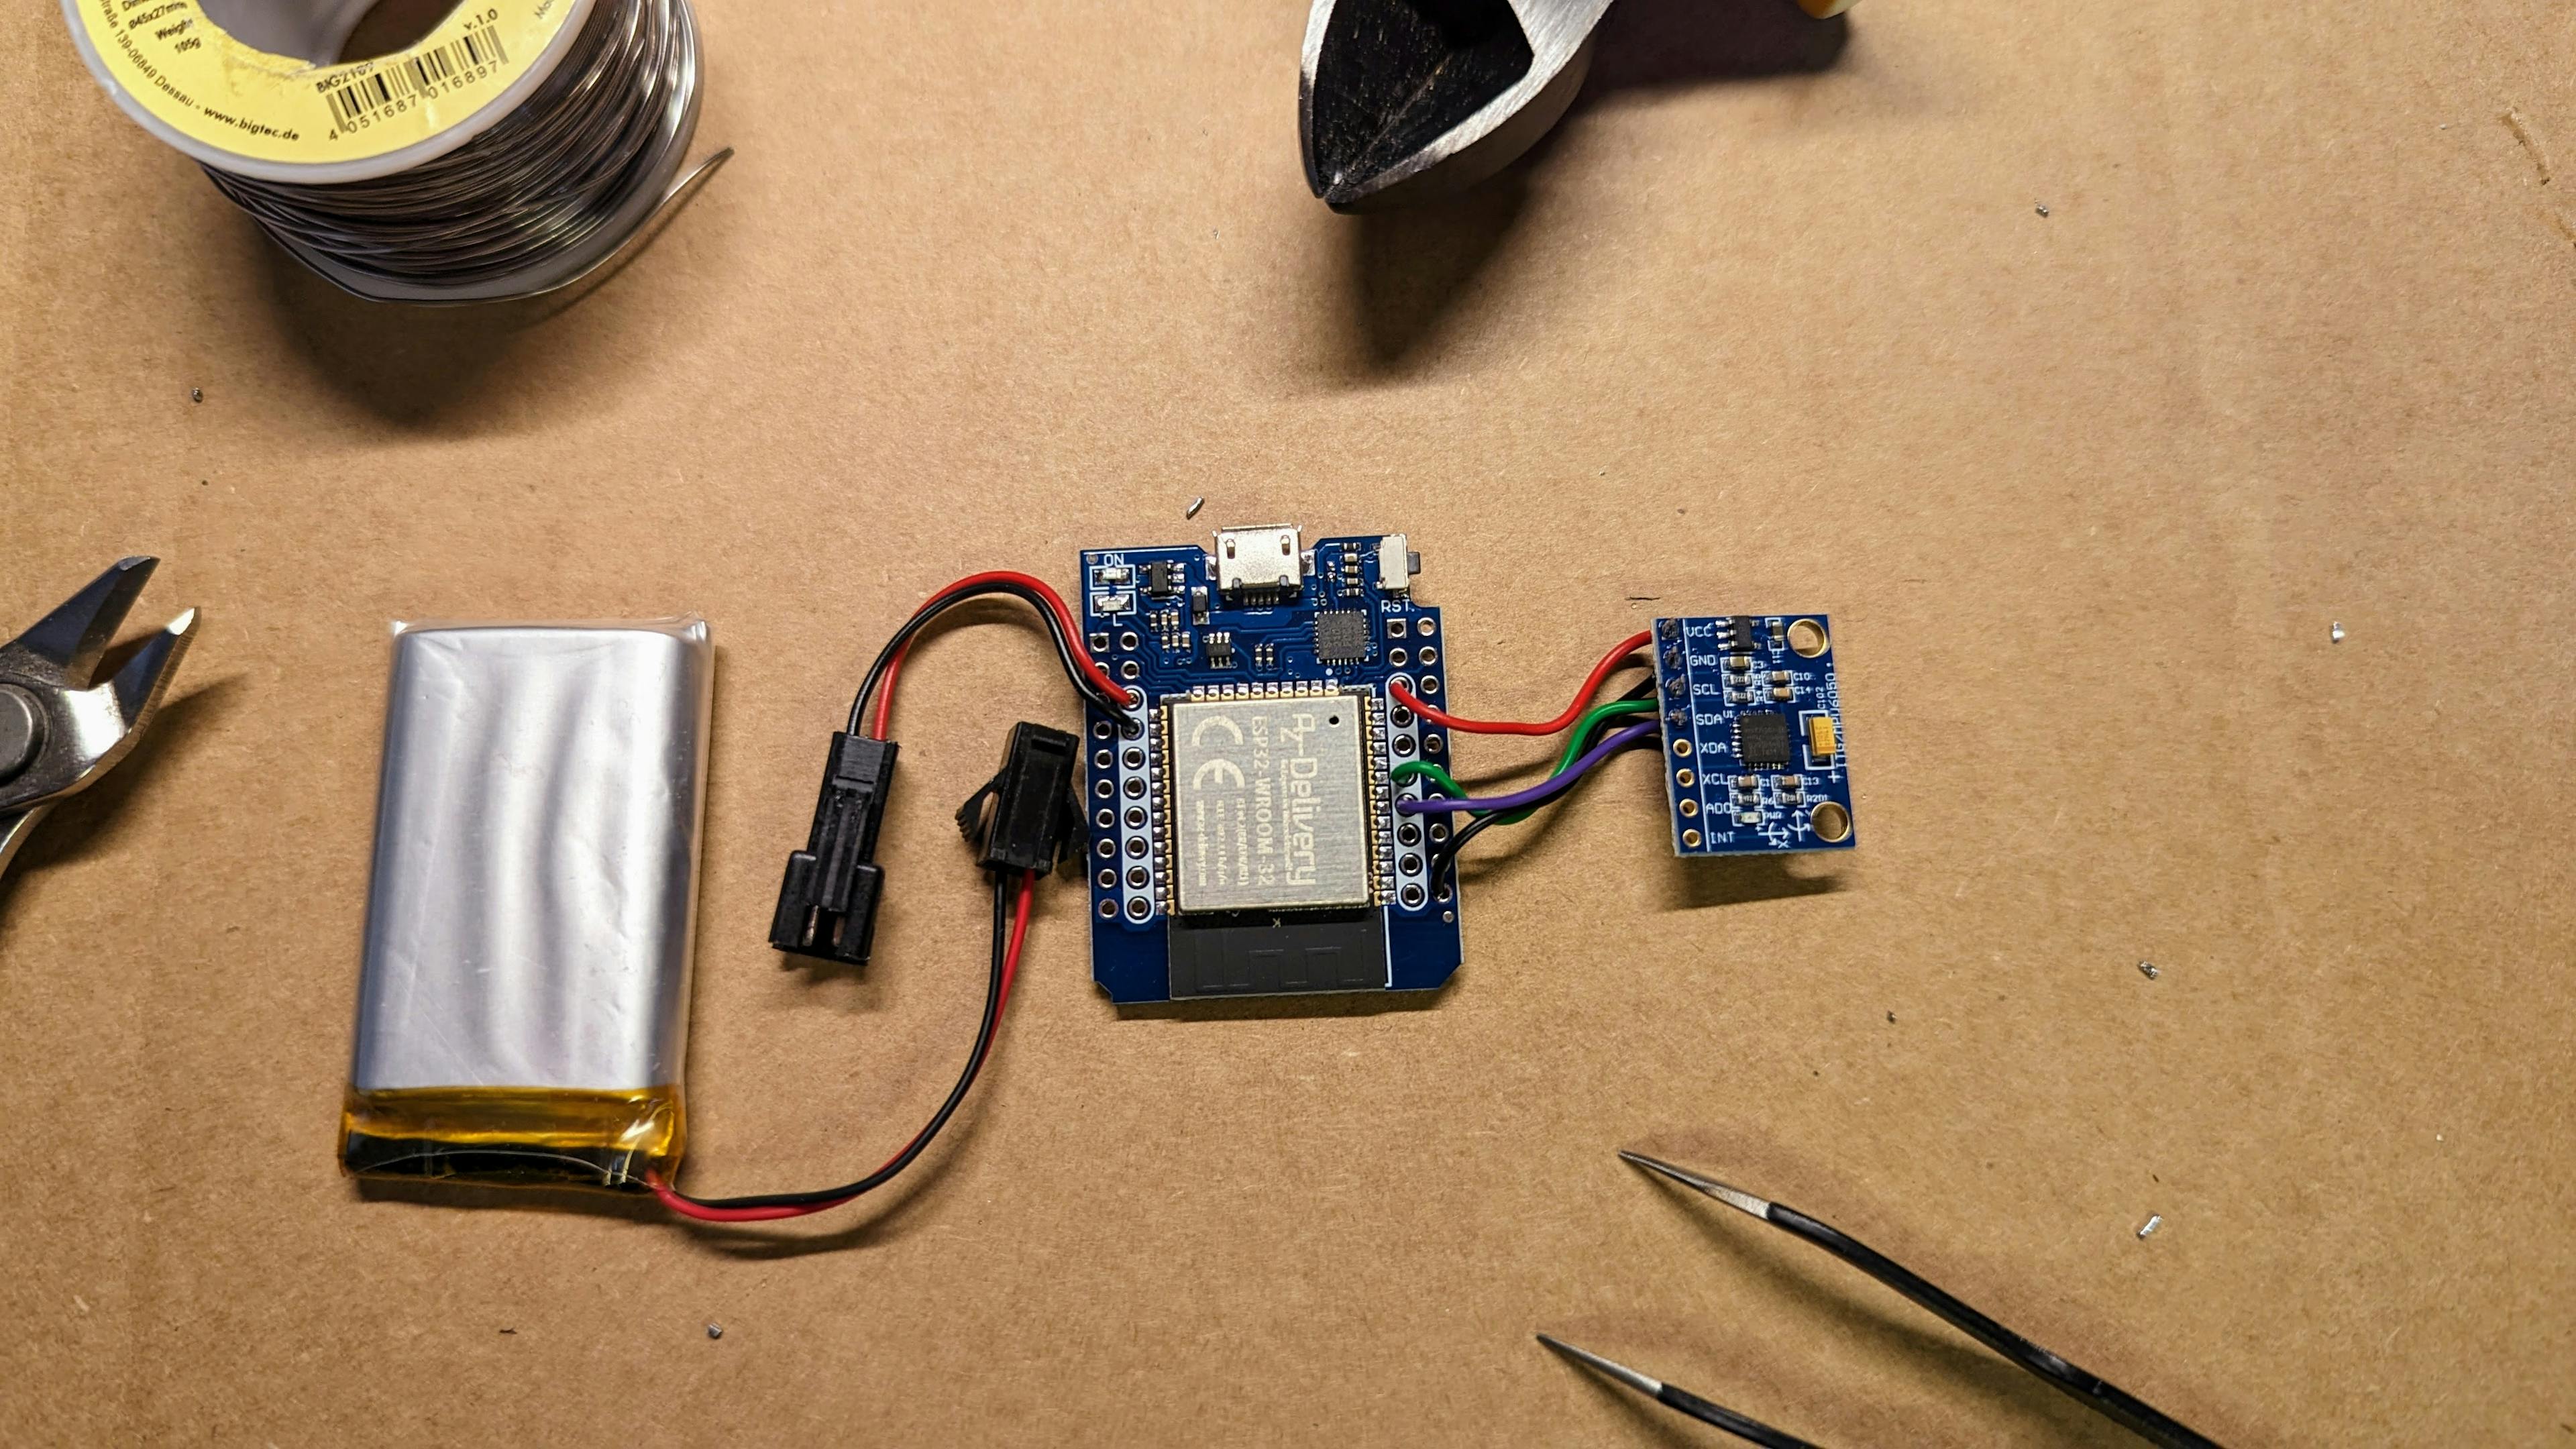
Soldering the components
A small first step is to solder the components. Because the amount of components is very small I guess it is not necessary to fiddle around with the breadboard first.
When you reached this point, I thank you for reading and your interest in this project. As the project progresses, I will continue to write about it.
Well, actually, it could be that this blog series leads to some small tutorials about how to implement different kinds of software, like firmware and desktop or mobile apps, and how to set up a communication between each of them. We will see. :)
Until next time. Have a great day.